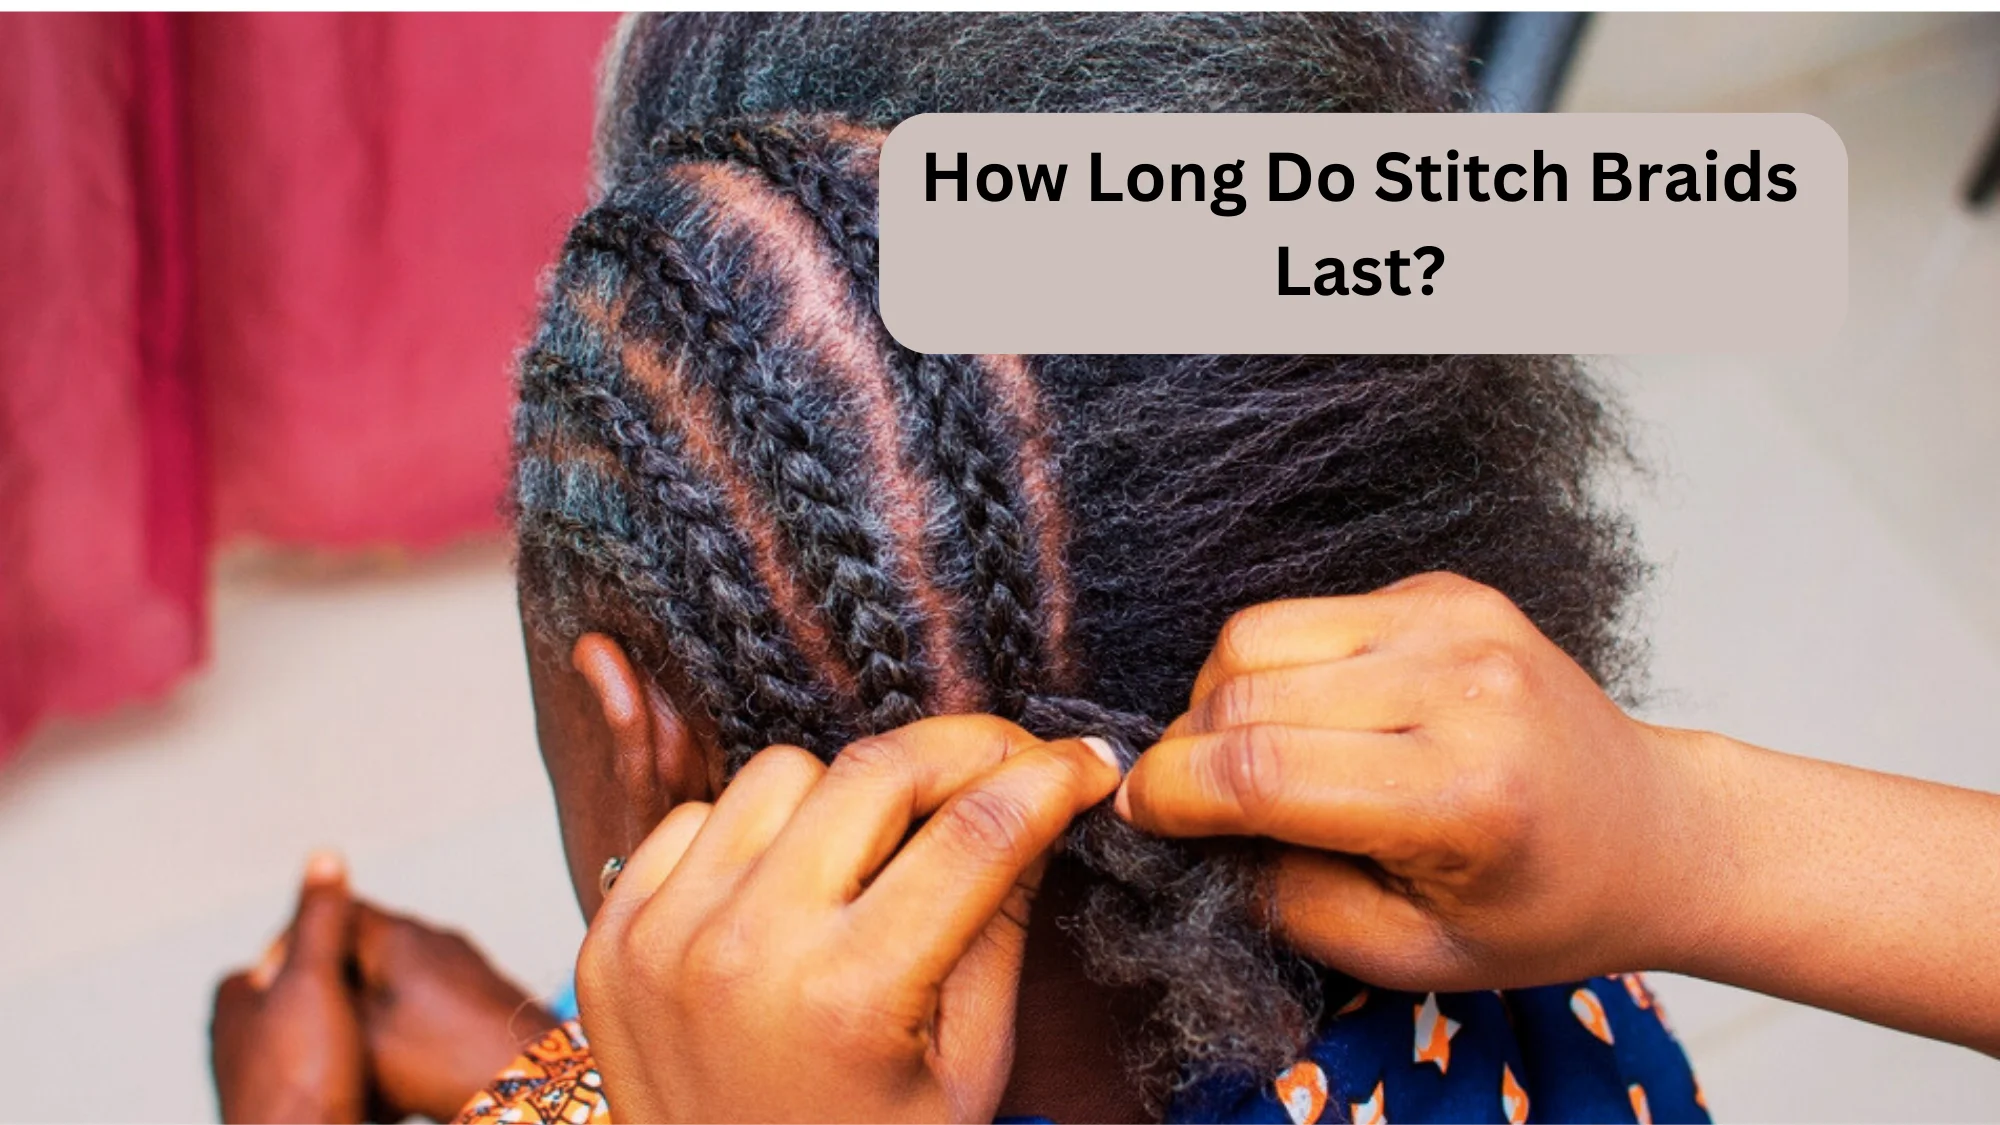
How Long Do Stitch Braids Last? Let’s Find Out!
Introducing the trend that’s taking the hair world by storm: stitch braids! Stitch braids, also known as Ghana braids, have become the go-to choice for those seeking a chic and long-lasting protective style. People often ask me, how long do stitch braids last?
Stitch braids can last anywhere from 4 to 8 weeks if you maintain them properly. However, with proper care, they can last even longer. This includes washing them regularly, using a silk bonnet or scarf to protect them at night, and avoiding excessive heat styling.
Want to know how to make your stitch braids last longer? Then, keep reading!
How Long Do Stitch Braids Last?

Stitch braids or Ghana braids, are a popular and versatile protective hairstyle that can last for several weeks. The duration of stitch braids primarily depends on various factors, including the individual’s hair type, maintenance routine, and lifestyle. However, on average, stitch braids can typically last between two to six weeks.
One of the reasons stitch braids are sought after is their longevity. When properly installed and cared for, they can remain intact and neat for an extended period. However, it’s important to note that everyone’s hair is unique, and individual experiences may vary.
The initial installation of stitch braids involves creating small, cornrow-like braids close to the scalp and adding extensions to achieve the desired length and thickness. These extensions are “fed-in” gradually as the braiding progresses, resulting in a seamless and natural-looking style.
The lifespan of stitch braids can vary depending on several factors, such as:
- Stitch braids typically stay longer on persons with looser hair textures, such as type 3 hair. This is because looser hair is less likely to shrink, causing the braids to loosen and unravel.
- Stitch braids will last longer if they are well cared for. This involves washing them on a regular basis, wearing a silk bonnet or scarf at night, and avoiding excessive heat styling.
- Stitch braids made of synthetic hair often endure longer than those made of human hair. This is due to the fact that synthetic hair is less prone to breaking and tangling.
How Long Do 6 Stitch Braids Take?
The duration of creating 6 stitch braids can vary depending on various factors, including the length and thickness of your hair, the expertise of the stylist, and the desired intricacy of the braids. However, on average, it can take approximately 2 to 4 hours to complete 6 stitch braids.
To give you a detailed understanding of the process, let’s break it down:
Before starting the braiding process, the stylist will usually prepare your hair by washing and conditioning it. The preparation stage usually takes about 15 to 30 minutes, depending on the length and texture of your hair.
Next, the stylist will divide your hair into sections to create the braids. Generally, six sections are created for 6 stitch braids, but this can be adjusted based on your preferences. Sectioning your hair typically takes around 10 to 20 minutes.
Once the hair is sectioned, the stylist will begin the braiding process. The braiding process requires precision and skill to ensure neat and even braids. Depending on the length and thickness of your hair, it can take approximately 1 to 3 hours to complete the braiding process.
After all the braids are created, the stylist will make sure they are secure and well-formed. They may trim any stray hairs or uneven ends to give your braids a clean and polished look. This final touch-up stage usually takes about 10 to 20 minutes.
How Long Do Feed-in Braids Last?

On average, feed-in braids can last anywhere from four to eight weeks. However, the exact lifespan of your braids will depend on various factors, including your hair type, the skill of the stylist, and the care you give to your braids.
One of the key factors that contribute to the longevity of feed-in braids is the technique used. Skilled stylists employ a “feed-in” method where they gradually add extensions to your natural hair, resulting in a seamless and natural look. This technique ensures that the braids have a solid foundation and are less prone to unraveling or coming loose.
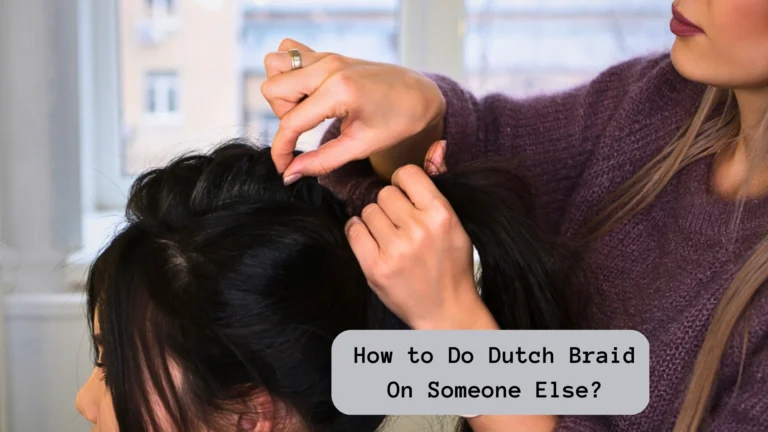
How to Stitch Braids On Yourself?
In this step-by-step guide, I’ll walk you through the process of doing stitch braids on yourself.
Materials Needed:
- Hairbrush
- Comb
- Hair elastics
- Bobby pins
- Mirror (preferably handheld or adjustable)
- Styling gel or spray (optional)
Step 1: Prep Your Hair
Before diving into the braiding process, ensure your hair is clean, detangled, and dry. Comb through any knots or tangles with a hairbrush or comb. If you prefer a sleek look or have flyaways, apply a small amount of styling gel or spray.
Step 2: Choose Your Braiding Style
There are numerous braiding styles to explore, such as French braids, Dutch braids, or fishtail braids. Pick a style that resonates with your desired look and level of expertise. For beginners, we recommend starting with a basic French braid.
Step 3: Section Your Hair
Using a comb, create a clean, horizontal parting at the top of your head, separating a small section of hair. Clip or tie up the remaining hair to keep it out of the way. This first section will be used to initiate your braid.
Step 4: Begin Braiding
Unclip the sectioned hair and divide it into three equal parts. Cross the right strand over the middle strand, then the left strand over the new middle strand. This forms the foundation of your braid. Remember to keep the braid tight but not too tight, ensuring comfort.
Step 5: Add Hair to Your Braid
With each subsequent cross of the strands, incorporate additional hair from the sides to your existing sections. Grab a small section of loose hair from the right side of your head and add it to the right strand, crossing it over the middle strand. Repeat the same process on the left side. Continue this pattern, incorporating hair from both sides as you braid.
Step 6: Maintain Tension and Neatness
As you work your way down, maintain an even tension on your strands to keep the braid tidy. It’s helpful to periodically check your progress in the mirror, adjusting any loose sections or bumps. Remember, practice makes perfect, so don’t be discouraged if your first attempt isn’t flawless.
Step 7: Secure the Braid
Once you’ve reached the desired length, secure the end of the braid with a hair elastic. Choose a small, inconspicuous elastic that matches your hair color to maintain a seamless look. Ensure it’s tight enough to hold the braid securely but not too tight to cause discomfort.
Step 8: Finishing Touches
To make your braid look polished, gently tug on the sides of the braid to loosen it and create a fuller appearance. This technique is called “pancaking” and adds dimension to your hairstyle. If desired, use bobby pins to secure any loose strands or flyaways.
Step 9: Experiment and Have Fun
Now that you’ve mastered the basic braiding technique, don’t be afraid to experiment with different styles. Try incorporating multiple braids, creating updos, or even adding accessories like ribbons or beads to enhance your look. The possibilities are endless!
Stitch Braids vs Feed-in Braids
Installation Technique
- Stitch Braids: Extensions are added using a stitching technique, resulting in a more pronounced braiding pattern.
- Feed-in Braids: Extensions are gradually added as the braids progress, creating a seamless blend with natural hair and a more natural-looking style.
Size and Thickness
- Stitch Braids: Typically thicker and larger, providing a bold and voluminous appearance.
- Feed-in Braids: Smaller and thinner, allowing for intricate and detailed patterns and a sleeker overall look.
Natural Hairline
- Stitch Braids: The hairline may appear less natural due to the larger size and more pronounced braiding pattern.
- Feed-in Braids: Gradual addition of extensions creates a natural hairline, giving a seamless and authentic look.
Styling Versatility
- Stitch Braids: Due to their larger size, Stitch Braids offer more flexibility in creating various updos and styling options.
- Feed-in Braids: Smaller size and delicate appearance lend themselves well to sleek ponytails, buns, and intricate braided hairstyles.
How to Make Your Stitch Braids Last Longer?

If you want to make your stitch braids last longer and maintain their neat appearance, here are five tips to follow:
Properly Prepare Your Hair
Before getting your stitch braids, make sure your hair is clean, well-moisturized, and detangled. This will provide a good foundation for the braids and help them last longer.
Protect Your Braids While Sleeping
Use a satin or silk scarf or bonnet to wrap your braids before going to bed. This will minimize friction and prevent the braids from frizzing or getting tangled while you sleep.
Avoid Excessive Manipulation
Constantly touching or pulling on your stitch braids can lead to fraying and loosening of the braids. Try to refrain from excessive manipulation, such as frequent styling or pulling the braids tightly.
Moisturize Your Scalp and Braids
Keep your scalp and braids moisturized to prevent dryness and breakage. Use a lightweight moisturizer or a natural oil, such as coconut oil or jojoba oil, and gently massage it into your scalp and braids as needed.
Wash Your Braids Carefully
When washing your hair, be gentle and use a diluted shampoo or a cleansing spray specifically designed for braids. Avoid scrubbing your scalp vigorously, as this can cause the braids to unravel. After washing, allow your braids to air dry thoroughly before styling.
You Might Also Like: How Long Do Crochet Braids Last? All You Want To Know!
Wrapping Up
To sum up, stitch braids are a low-maintenance hairstyle that can last for up to 6 to 8 weeks. Make an effort to get it out as soon as possible. Don’t forget to nourish your hair with conditioner and oil to keep it healthy during the duration of your stitch braids. You’ll be able to rock stitch braids for months on end if you keep these ideas in mind!
FAQs
How Do I Remove Stitch Braids?
To remove stitch braids, you will need to carefully unbraid your hair. You can use a detangling comb to help loosen the braids. Once the braids are undone, you can gently brush your hair and style it as desired.
Can I Re-use Stitch Braids?
It is possible to re-use stitch braids, but it is not recommended. The braids will become more fragile after they have been removed, and they are more likely to break or unravel. If you do decide to re-use stitch braids, be sure to take extra care when brushing and styling your hair.
How Much Do Stitch Braids Cost?
The cost of stitch braids will vary depending on the length and thickness of your hair, as well as the skill of the stylist who is doing them. In general, stitch braids can cost anywhere from $100 to $500.
Are Stitch Braids Painful?
Stitch braids are not typically painful. However, some people may experience some discomfort, especially if they have a sensitive scalp. If you are concerned about pain, be sure to talk to your stylist before getting stitch braids.
Are Stitch Braids Good For Your Hair?
Stitch braids can be good for your hair if they are done properly. The braids can help to protect your hair from heat styling and damage from the sun. However, if stitch braids are not done properly, they can damage your hair.