How To Clean Gua Sha? 5 Easiest Methods!
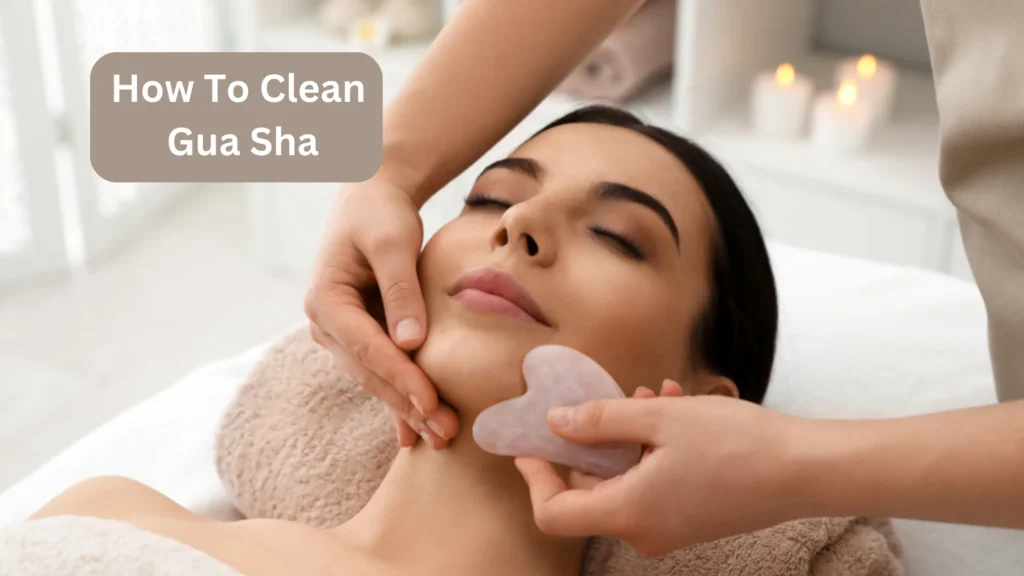
Gua sha is now a very popular skincare tool. It was first used by ancient Chinese who uses smooth-edged tools to gently scrape the skin, stimulating blood circulation and releasing tension.
But did you know taking care of your Gua Sha is a crucial step towards maintaining your skincare routine? A study from the Journal of Traditional and Complementary Medicine (2017) has shown that improper handling and unclean Gua Sha tools can invite harmful bacteria, which may lead to skin issues.
Just like you wouldn’t use a dirty brush on your precious face, your Gua Sha deserves the same attention. So, let’s dive into the 6 easiest methods on how to clean gua sha because a clean tool is the first step towards clean, glowing skin!
Why Is It Essential To Clean Gua Sha?
When it comes to cleaning gua sha, you might think, “It’s just a stone, why does it need cleaning?” but trust me, it’s more crucial than you’d imagine.
Health Benefits
Cleaning your gua sha isn’t just about maintaining its shiny aesthetic. It’s actually fundamental to your health and the tool’s efficacy.
Think about it this way: each time you use your gua sha, you’re typically applying some oil or serum first, right? And during the process, your gua sha picks up dead skin cells, excess oil, and maybe even some leftover makeup.
But it doesn’t stop there. According to a recent study, surfaces that touch your skin can harbor different types of bacteria and fungi.
Over time, these can multiply, and if left unchecked, you could be scraping a petri dish of bacteria across your skin the next time you use your gua sha. Sounds unpleasant, right? That’s because it is!
If these bacteria enter your pores, they can cause inflammation, leading to acne or worse.
Maintains the Effectiveness of the Tool
And there’s another aspect: the effectiveness of the tool itself. Gua sha works by increasing blood circulation and aiding lymphatic drainage. But if the tool is coated with old, congealed products and microscopic organisms, it can’t glide as smoothly or effectively over your skin.
Cleaning your gua sha is as simple as using warm water and gentle soap after each use. This regular care keeps your skin safe and maintains the effectiveness of your gua sha tool. It’s a little effort for a big reward!
Proper cleaning and maintenance can help extend the lifespan of your Gua Sha tool.
How To Clean Gua Sha? 5 Easy Methods

Cleaning a gua sha should not be a daunting task. Follow these easy methods to know how to clean gua sha.
Method # 1: Use Warm Soapy Water
Cleaning a Gua Sha tool with warm soapy water is a simple and effective method. it does not involve much effort and it is super quick. Let’s see how to clean gua sha with warm soapy water below:
- The first step is to fill up a bowl or sink with warm water. Make sure it’s not scalding hot, just comfortably warm for your hands.
- Add a few drops of mild soap or a gentle cleanser to the warm water. Grab something like a mild hand soap (you can also use your facial cleanser).
- Now place your Gua Sha tool into the soapy water, ensuring it gets a nice, bubbly bath.
- To ensure gua sha is cleaned thoroughly, you can scrub it with a soft brush or cloth. You can even use a soft-bristled toothbrush or a facial brush if you don’t have anything fancy.
- Pay extra attention to any grooves or tight spots on your Gua Sha tool. These little nooks might have trapped dirt, oils, or debris, so give them some extra attention.
- Hold your Gua Sha tool under running water to wash away any soapy residue. If you prefer, you can also use a jug of clean water to rinse it thoroughly.
- Now you can pat gua sha with a clean towel. Avoid rough rubbing, as it can damage the tool. And that’s it now your gua sha is clean.
Method # 2: Rubbing Alcohol

If you’re worried about acne-causing germs lingering on your gua sha, you can add alcohol to your sanitizing procedure. This will kill any remaining bacteria. To clean a gua sha tool with rubbing alcohol, follow these simple steps:
- Firstly, gather all the necessary items for your own convenience. You will need rubbing alcohol (isopropyl alcohol), a clean cloth or paper towel, and a small container for this method.
- Pour some rubbing alcohol into the container. You only need a small amount to cover the gua sha tool.
- Place the gua sha tool into the container, and make sure that it is fully submerged in the rubbing alcohol. Let it soak for 3-4 minutes to allow the alcohol to disinfect the tool.
- Now you can use a clean cloth or paper towel, and gently scrub the gua sha tool while it is in the rubbing alcohol. This helps to remove any residue or impurities from the surface.
- After scrubbing, remove the gua sha tool from the rubbing alcohol and rinse it thoroughly under warm water.
- Now dry the gua sha tool dry using a clean cloth or paper towel. Allow it to air dry completely before storing it. That’s it.
Method # 3: Use Salt
If you want to clean your gua sha without using soap or alcohol, there is a natural way to clean it. You can replace the soap and alcohol with salt. If you live near a beach, you can even clean and recharge your tools with seawater (as it is salty). To clean a Gua Sha tool with salt, let me tell you some simple steps:
- You’ll need salt (preferably coarse salt), a small bowl or basin, and a clean cloth or towel.
- Fill the bowl or basin with warm water and add a few 2 to 3 tablespoons of salt. Stir the mixture until the salt dissolves.
- Place the Gua Sha tool into the bowl, ensuring that it is fully submerged in the salt solution. Let it soak for a good 10 to 15 minutes. This will help loosen any dirt or residue on the tool’s surface.
- After soaking, you can also scrub the tool for extra cleaning.
- Once you have scrubbed the tool, rinse it under running water to remove any remaining saltwater and residue. Now, dry the tool and you are done.
Method # 4: UV Sterilization
UV light cleaners were quite popular in doctor’s offices during the peak of the COVID-19 outbreak. These cleaners can also be used to sterilize a variety of devices such as cell phones, car keys, and even your gua sha tool. UV laser cleaners are extremely powerful in removing dirt and bacteria, making them the best alternative for thorough cleaning. To clean a Gua Sha tool using UV sterilization, you can follow these steps:
- The things you will need for this method are a UV sterilizer device, rubbing alcohol (isopropyl alcohol), cotton pads or balls, and a clean towel.
- If your Gua Sha tool has detachable parts, separate them for more effective cleaning and sterilization.
- Use a cotton pad or ball soaked in rubbing alcohol to wipe down the Gua Sha tool thoroughly. Pay attention to the areas that come into contact with the skin. This step helps remove dirt, oil, and bacteria.
- Now, put the cleaned Gua Sha tool inside the UV sterilizer according to the device’s instructions. Ensure that the tool is properly positioned and not touching any other objects.
- Turn on the UV sterilizer device. Most devices have a built-in timer, so set it accordingly. The sterilization process typically takes a few minutes.
- Allow the UV sterilizer to complete its designated cycle. This process uses ultraviolet light to kill bacteria and other pathogens on the Gua Sha tool’s surface.
- Once the sterilization cycle is finished, open the UV sterilizer and carefully remove the Gua Sha tool. Be cautious as the tool may be hot.
- Gently pat the Gua Sha tool dry using a clean towel. Ensure that all parts are completely dry before storing or using them. That is it.
Method # 5: Use Boiling Water (But For Metal Gua Sha Only)
If you happen to have a metal gua sha tool, here’s a neat little trick to keep it spick and span. Just like you would sterilize tweezers, you can place the metal tool in boiling water for about 5 minutes.
But here’s a crucial tip: avoid trying this method with the delicate stone or resin variations of gua sha. They won’t take kindly to such treatment!
Follow the below steps to clean a Gua Sha tool using boiling water:
- Fill a pot or kettle with water and bring it to a rolling boil. Make sure you have enough water to submerge the Gua Sha tool completely.
- While the water is boiling, prepare a heat-resistant container or bowl that is large enough to hold the Gua Sha tool. Glass or stainless steel containers will work here.
- Once the water has reached a rolling boil, carefully pour it into the prepared container, ensuring that it covers the entire Gua Sha tool.
- Now allow the Gua Sha tool to soak in the boiling water for approximately 10 to 15 minutes. This will help sanitize and loosen any dirt or residue on the tool.
- After the soaking time, use tongs or a spoon to carefully remove the Gua Sha tool from the hot water. Be cautious as it will be hot.
- Immediately rinse the Gua Sha tool under cold running water to cool it down and remove any remaining debris or impurities.
- Use a clean towel or paper towel to dry the Gua Sha tool thoroughly. Ensure that there is no moisture left on the tool. And you have successfully cleansed your gua sha tool.
Maintenance Tips of Gua Sha

Regular use of gua sha gives excellent results as it improves circulation and promotes healing. But if you don’t properly maintain your tool, it will lose its effectiveness over time. So, if you own a gua sha tool and want to ensure its longevity and effectiveness, here are some maintenance tips to follow:
Final Say
All in all, learning how to clean a gua sha tool is essential for maximizing its effectiveness. Also, if you clean gua sha regularly it also benefits your own skin as it reduces the chance of bacterial buildup which can ultimately cause acne.
Regularly washing the tool with mild soap and warm water, followed by thorough drying, is a common practice to remove any oil, dirt, or residue. Storing the gua sha tool in a clean and dry place also helps to prevent contamination. This way you can use your gua sha to maintain your skin health!
Also Read: Does Facial Massage Have An Effect On Sebum?


