How to Contour Heart-shaped Face? A comprehensive Guide!
Ever found yourself in front of a mirror, holding your contour kit, and pondering, “Just how to contour heart-shaped face to highlight my best features?” Well, you’re in the right place.
So, if you’ve been blessed with a heart-shaped face, this guide on how to contour a heart-shaped face is just for you. Let’s dive right in!
Why Should I Contour My Heart-Shaped Face?
If you have a heart-shaped face, contouring can enhance your natural features. It’s a simple technique that creates a balanced and stunning look. But why should you bother contouring? Let me explain.
With a heart-shaped face, contouring can help soften any angles and create a more defined and sculpted appearance.
By strategically applying darker shades to certain areas and lighter shades to others, you can achieve a more symmetrical look.
One of the key benefits of contouring for heart-shaped faces is the ability to enhance your cheekbones. By applying a bronzer or contour shade just below your cheekbones and blending it out, you can create the illusion of more defined cheekbones.
Contouring can also help to minimize the appearance of a wider forehead, which is a common characteristic of heart-shaped faces. This technique helps to bring visual focus to the center of your face, making it look more proportionate.
How To Contour Heart-Shaped Face?

Prepping Your Face for Contouring
A great contouring routine starts with a well-prepped canvas. Start by gently cleansing your face to remove any impurities or residual makeup. Follow up with a moisturizer suitable for your skin type to hydrate your skin, ensuring a smooth surface for your makeup.
Now, Choose the Right Primer to Extend Makeup Wear. Primer not only helps your makeup last longer, but it also minimizes pores and smoothes out your skin’s texture. Remember, a little goes a long way!
After applying primer, now it’s time to select the Ideal Foundation Shade for Your Skin Tone.
A foundation that matches your skin tone and undertone is key. It creates an even complexion and provides a base for your contour.
Understanding Contouring Techniques for Heart-Shaped Faces
Once your base is ready, it’s time to master the art of contouring a heart-shaped face.
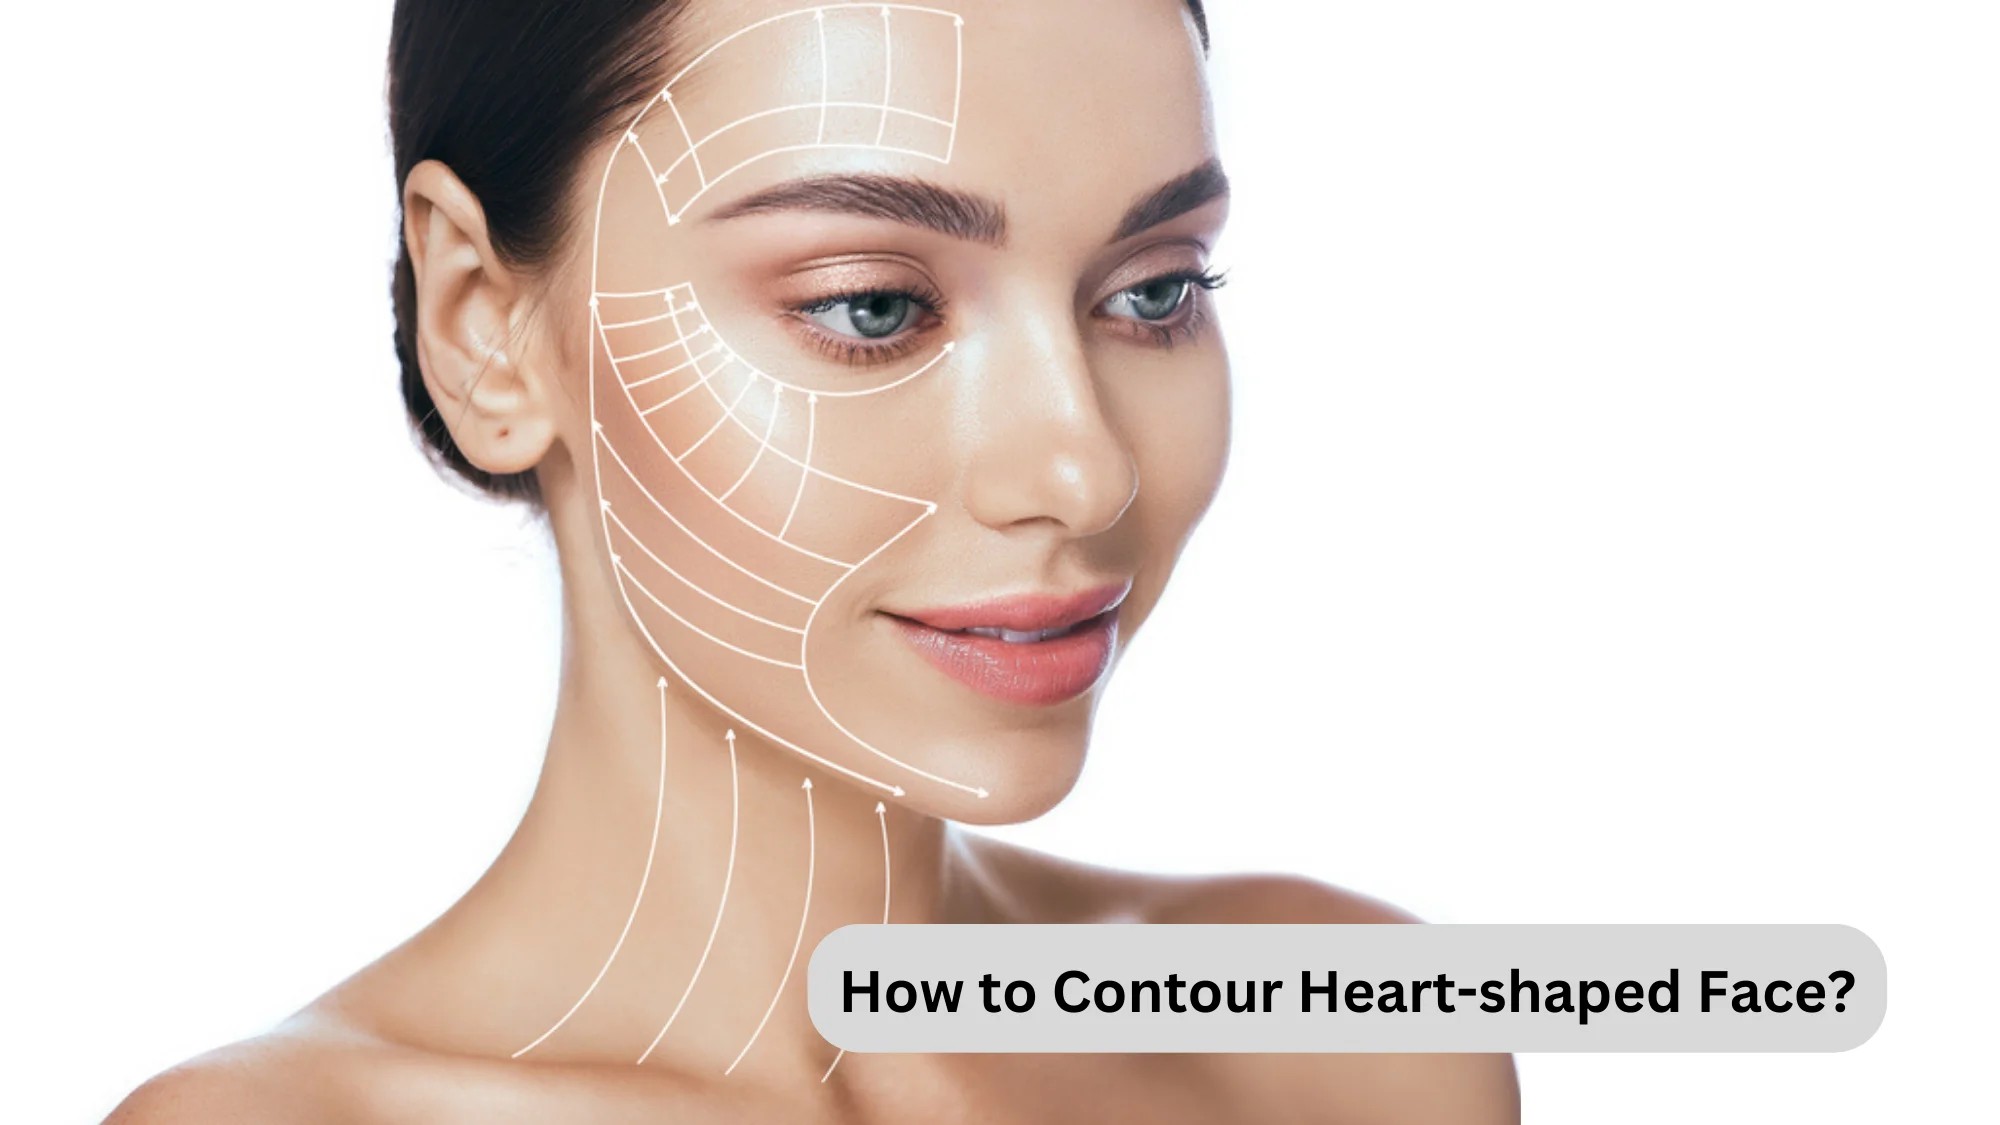
- Highlighting the Forehead and Temple Areas: Apply a highlighter to the center of your forehead and blend it towards your temples. This helps balance the wider forehead characteristic of heart-shaped faces.
- Defining the Cheekbones for a Sculpted Look: Contour along the hollows of your cheeks – starting from your ears towards the corners of your mouth, but stop midway. Blend upwards to create a lifted look.
- Balancing the Chin and Jawline: Apply a bit of contour along your jawline and at the tip of your chin. This creates an illusion of a fuller, balanced lower face.
There you have it! With these steps, you’re well on your way to contouring your heart-shaped face like a pro.
Selecting the Perfect Contouring Products
Cream contour is perfect for a more dramatic, photo-ready look, while powder contour gives a softer, everyday look. Consider your skin type too: creams are great for dry skin, while powders are perfect for oily skin.
As a rule of thumb, your contour shade should be two shades darker than your foundation. Remember to keep your undertones in mind when picking your contour shade!
Contouring kits can simplify the process as they often include multiple shades for contouring, highlighting, and bronzing. This allows you to create a perfectly customized contour.
Step-by-Step Contouring Tutorial for Heart-Shaped Faces

- Use a contour shade to create lines at the temples, beneath the cheekbones, and along the jawline. These areas correspond to the broader forehead, high cheekbones, and narrower chin of heart-shaped faces.
- Blend, blend, blend! This is crucial for natural-looking contour. Use a makeup sponge or brush to blend the contour lines, ensuring there are no harsh edges.
- Start with a light hand, and slowly build up your contour. It’s easier to add than to take away!
- Use a highlighter to enhance the high points of your face – the center of the forehead, the tops of the cheekbones, and the chin.
- For a natural look, pick a highlighter that’s two shades lighter than your skin tone. For a more dramatic effect, you can go even lighter.
- Apply a blush that complements your skin tone to the apples of your cheeks. This adds a healthy glow and enhances the contouring effect.
- To ensure your masterpiece stays put, set your contour with a translucent powder. This locks in your makeup without altering the color of your contour.
- A spritz of setting spray not only locks in your makeup for longer wear but also helps to melt the makeup into your skin for a more natural look.
- Finally, take a step back and assess your makeup. Use a clean brush to blend any areas that need a little extra attention for a seamless, flawless finish.
Addressing Common Contouring Mistakes and Their Solution

Avoiding Harsh Lines and Patchiness
Always remember to blend correctly. Harsh lines or patchiness can make contouring look unnatural. Use a blending sponge or brush to seamlessly integrate the contour into your foundation.
Correcting Unevenness or Imbalance
Contouring should create a symmetrical, balanced look. If one side looks darker, simply balance it out with a little extra contour or blending on the other side.
Dealing with Makeup Transfer and Smudging
Setting your makeup with a powder and spray can prevent transfer. For smudging, try to touch your face less and always have some makeup wipes at hand for quick fixes.
Is Contouring Same as Bronzing? What’s the Difference?
No, contouring and bronzing are not the same thing. Although, they might look similar but both have different functions.
Contouring is a makeup technique that uses lighter and darker shades to define and reshape certain features of your face. The main goal is to highlight the areas you want to stand out.
Also, by this technique you can darken the areas you want to recede, creating a 3D illusion of a more defined facial structure. This can give you sharper cheekbones, a slimmer nose, or a more sculpted jawline.
Another thing that you should know is contouring is usually performed with matte products, either powders or creams, which are typically two shades darker or lighter than your natural skin tone.
The darker shades are used to create shadows (contour) in areas like the hollows of your cheeks, the sides of your nose, your temples, and along your jawline.
The lighter shades (highlight) are used to draw attention to high points such as the top of your cheekbones, the center of your forehead, the bridge of your nose, and the center of your chin.
As contouring creates a more dramatic effect, it’s often used for evening looks, professional photoshoots, or whenever you’d like your features to appear more defined.
Bronzing
On the other hand, bronzing is a technique used to give your skin a warm, sun-kissed glow. It adds warmth and color to your complexion and can make you look like you’ve just returned from a beach vacation.
Bronzers typically have a warm undertone and come in either a matte or shimmer finish. They are applied to areas where the sun would naturally hit your face — the forehead, cheeks, nose, and chin.
Unlike contouring, bronzing doesn’t aim to alter your facial features but to add depth and give you a healthy, radiant glow.
Bronzing can be applied more liberally than contouring, and it’s more forgiving when it comes to blending. It’s a great technique for everyday looks or when you want to appear naturally tanned.
Key Differences of Contouring and Bronzing
- Purpose: Contouring is used to sculpt and define your facial features, while bronzing is used to give your skin a warm, sun-kissed look.
- Application: Contouring is applied to areas you want to recede or highlight, whereas bronzing is applied where the sun would naturally hit your face.
- Product: Contouring products are usually matte and two shades darker or lighter than your skin tone, while bronzers are typically warm-toned and can be matte or shimmery.
- Effect: Contouring provides a dramatic, high-definition effect while bronzing results in a natural, radiant glow.
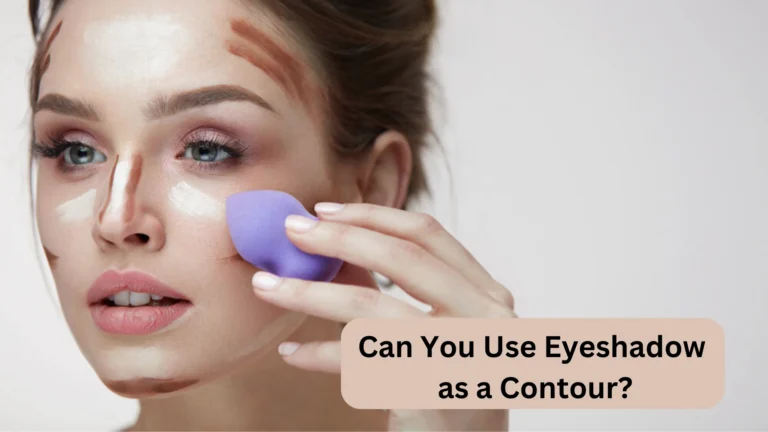
You Might Also Like: Can You Use Eyeshadow as a Contour? (Explained)
Conclusion
There you have it! A comprehensive guide on how to contour a heart-shaped face. From preparation to perfection, contouring is a fun and creative way to enhance your natural beauty. Remember, practice makes perfect, and don’t be afraid to experiment to find what works best for you. Happy contouring!