How to Do Dutch Braid On Someone Else? The Simplest Way!
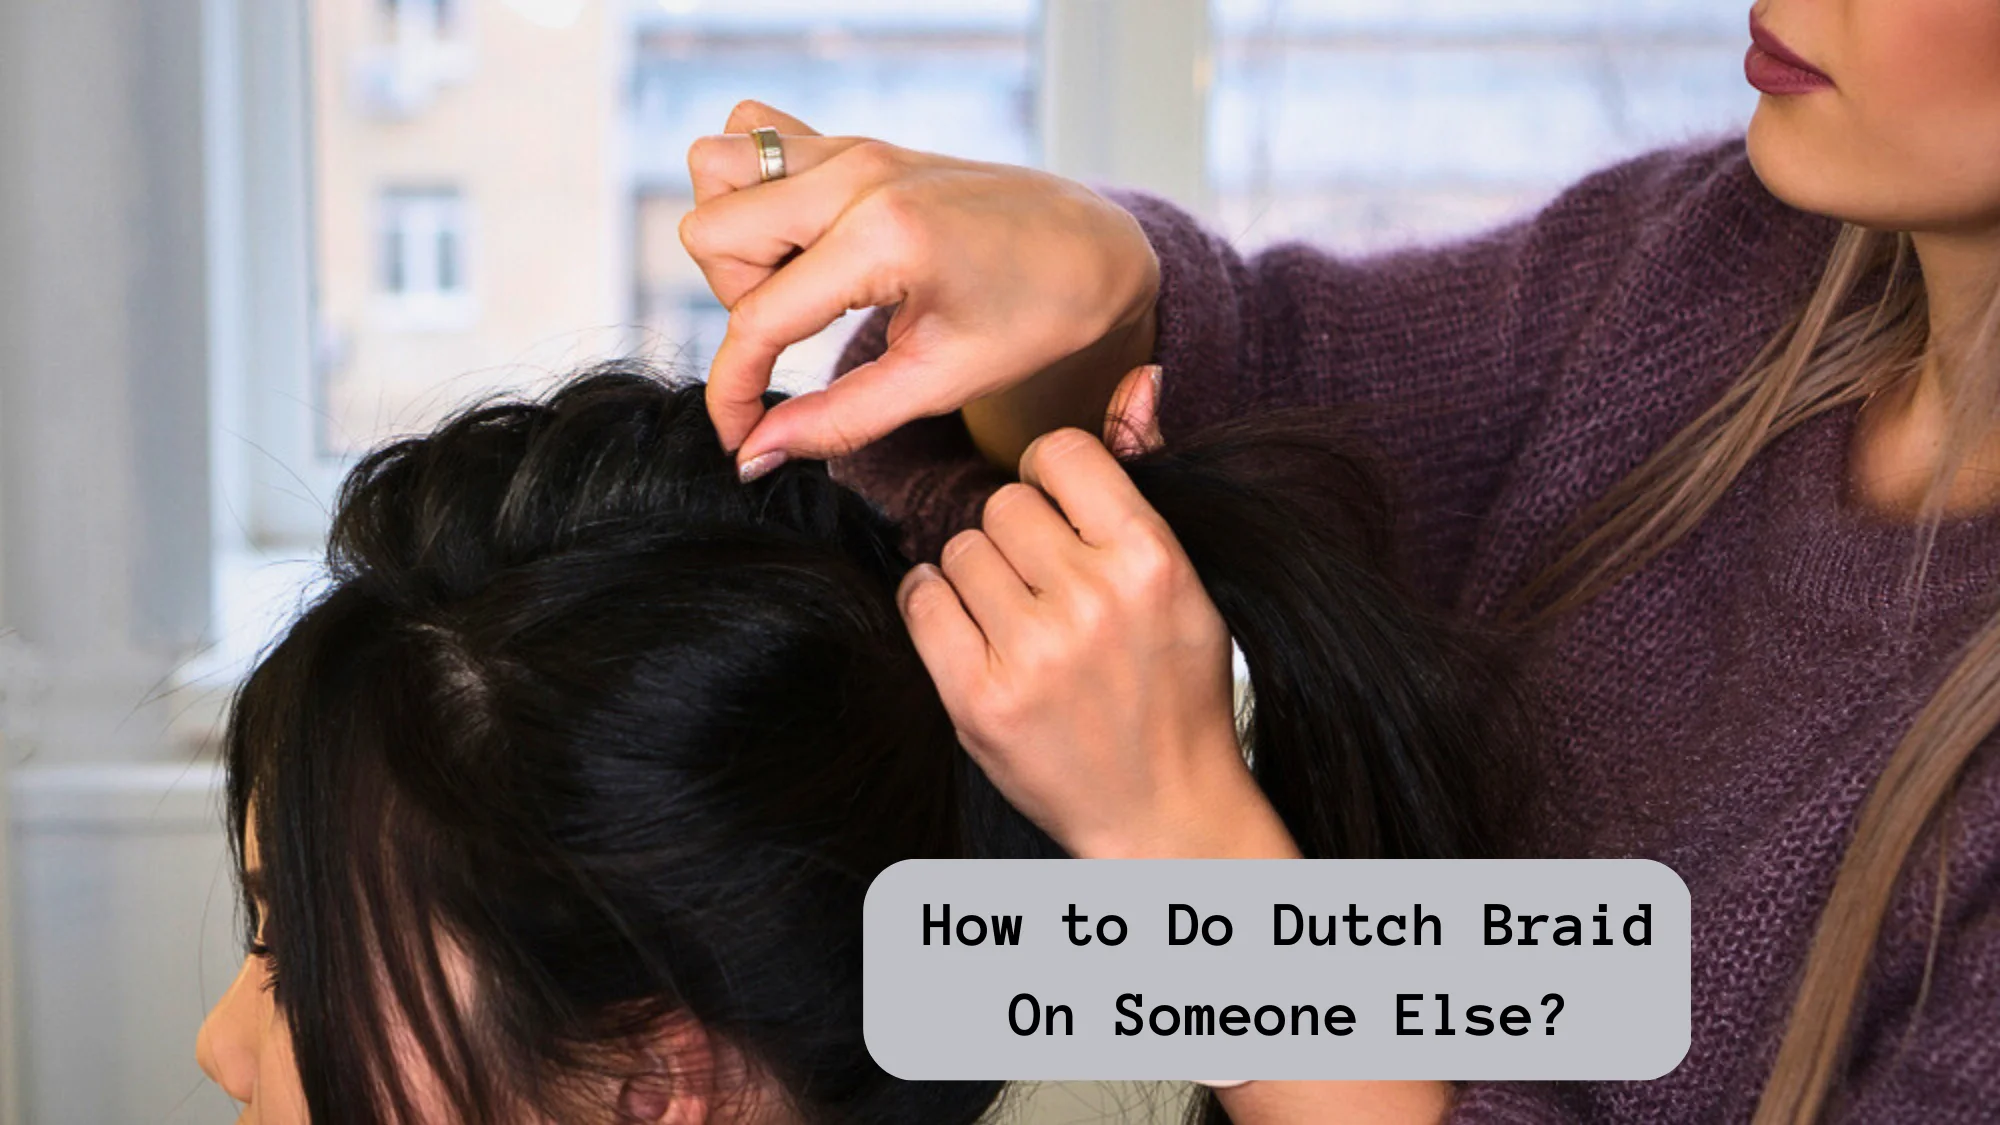
Dutch braids, also known as inverted or reverse French braids, are popular classic hairstyles that can be worn with many outfits. These braids are a popular choice for those who want an elegant and decent look. Unlike a regular braid, the Dutch braid sits on top of the hair, creating a raised effect. While it’s easy to do yourself, it can be challenging to braid someone else’s hair, especially if you’re not familiar with the technique. In this article, we will provide a step-by-step guide on how to do a Dutch braid on someone else, so you can create a stylish and sophisticated look for your friend or loved one. Keep Reading!
How to Do Dutch Braid On Someone Else?
Dutch Braids look stunning and elegant but it is quite challenging to make them on someone else. But don’t worry as I am going to tell you step by step how to do Dutch braid on someone else for beginners:
Brush the Hair
Before starting the braid, make sure the hair is brushed and free of any tangles or knots. This will make it easier to separate the hair into sections and create a neat and tidy braid.
Section the Hair
After brushing the hair the next step is to separate the hair into three sections at the top of the head. Make sure the left and right sections should be smaller than the middle section. Clip the middle section out of the way.
Begin Braiding
To start the braid, take the left section and cross it under the middle section. Then, take the right section and cross it under the middle section. This step is the same as a regular braid.
Add Hair to the Braid
After the first two sections are crossed, it’s time to start adding hair to the braid. Take a small section of hair from the left side of the head and add it to the left section of the braid. Then, cross the entire left section, including the added hair, under the middle section. Repeat the same steps on the right side, adding a small section of hair to the right section of the braid before crossing it under the middle section.
Continue Braiding
Keep adding hair from both sides and crossing the sections under the middle until you reach the nape of the neck. At this point, all the hair should be merged into the braid.
Finish the braid
Once all the hair is braided, you can finish the braid in a few different ways. One option is to simply continue braiding the three sections all the way to the ends of the hair and tie it off with a hair elastic. Another option is to create a bun or ponytail with the remaining hair. Do whatever you want, that suits and compliments your outfit
Secure the Braid
To keep the Dutch braid in place, you can use bobby pins or hairspray. If you’re creating a bun or ponytail, use a hair elastic to secure the hair in place.
How to Do Two Dutch Braids On Someone Else?
Here are the steps to create two Dutch braids on someone else:
- Brush the hair to remove any knots or tangles. Now, divide the hair into two equal sections by parting it down the middle of the head. Clip one section of hair out of the way while you work on the other side.
- Take a small section of hair from the front of the unclipped side and divide it into three equal parts.
- Begin a Dutch braid by crossing the right section of hair under the middle section, and then the left section under the right section, just like a regular braid.
- After the first two stitches of the braid, begin adding hair to the sections you cross under the middle section. Take a small section of hair from the hairline and add it to the right section before crossing it under the middle section. Repeat on the left side, adding a small section of hair to the left section before crossing it under the middle section.
- Continue braiding, adding small sections of hair from the hairline each time, until you reach the nape of the neck. At this point, you should have incorporated all of the hair from the unclipped side of the head.
- Once you’ve reached the nape of the neck, continue braiding the remaining hair without adding any more sections. Secure the end of the braid with an elastic band.
- Repeat the process on the other side of the head to create the second Dutch braid.
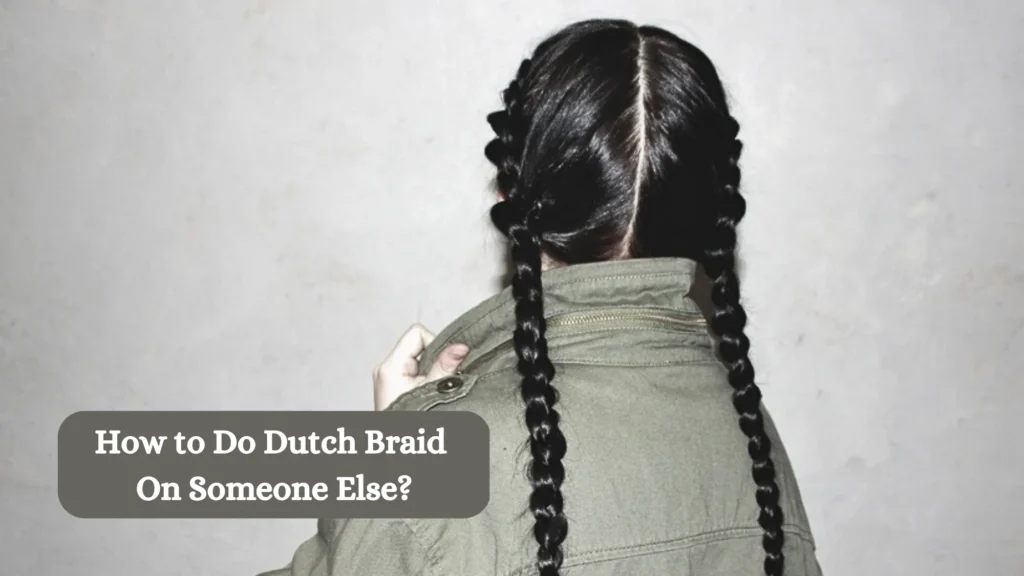
- Once both braids are complete, you can gently tug on the edges of the braids to make them appear fuller and more voluminous.
How to Do Dutch Braid On Someone Else? Some Extra Tips
- When adding hair to the braid, use small sections to create a neat and tidy braid.
- Make sure the person’s hair is clean and free of tangles. Brush through their hair before starting the braid.
- Use a comb to create a neat and even part down the center of their head, as this will help you to create even sections for the braid.
- If the person’s hair is particularly thick or curly, use a hair tie to tie off the section of hair you are not working with. This will help you to avoid getting tangled up while braiding.
- Keep the tension consistent as you braid. Too much tension can be uncomfortable, while too little can make the braid look messy and loose.
- Take your time and work slowly. Keep the sections of hair even and don’t rush the process.
- Use hair clips to hold the hair in place as you work, particularly if the person has layers or shorter hair that may fall out of the braid.
- If the person has particularly long hair, consider standing behind them to braid. This will give you more control and allow you to see the braid from different angles.
- Finish the braid with a hair tie that is secure, but not too tight. Tight hair ties can cause discomfort or headaches.
If you are unsure of how to do a Dutch braid, practice on yourself. Let me explain how you can do a Dutch braid on yourself.
How to Do Dutch Braid On Yourself?

The Dutch braid is a beautiful and classic hairstyle that can be done easily with a bit of practice and patience. Here are the steps to do a Dutch braid on yourself:
- Start by brushing your hair to remove any knots or tangles. If your hair is particularly thick or curly, you may want to dampen it slightly to make it easier to work with.
- Section off a small piece of hair near the crown of your head and divide it into three equal sections.
- Cross the right section under the middle section, then cross the left section under the middle section.
- Now, start adding hair to each section as you continue braiding. To do this, take a small section of hair from the right side of your head, add it to the right section of the braid, and cross it under the middle section. Then, take a small section of hair from the left side of your head, add it to the left section of the braid, and cross it under the middle section.
- Continue braiding in this way, adding hair to each section as you go, until you reach the nape of your neck.
- Once you’ve reached the nape of your neck, continue braiding without adding any additional hair to the sections, until you reach the end of your hair.
- Secure the end of the braid with a hair tie.
- If you want to create a more voluminous and relaxed look, gently pull on the edges of the braid to loosen it up.
- To create a more polished look, use bobby pins to secure any loose strands or flyaways.
- Repeat the process on the other side of your head, starting at the crown and working your way down to the nape of your neck.
- Once you have both braids complete, you can leave them as is or join them together at the back of your head with a hair tie or bobby pins.
- Finish the look by spraying your hair with hairspray or even water to keep the braids in place.
Final Words
All in all, doing a Dutch braid on someone else is surely a fun experience. With this guide on How to do Dutch braid on someone else, I hope now you know the right way to make the Dutch braid. To get the best results, make sure the person’s hair is clean and free of tangles, create even sections for the braid, keep the tension consistent, and use hair clips to hold the hair in place as you work. Take your time and work methodically, and finish the braid with a secure hair tie that is not too tight. With these tips in mind, you’ll be able to create a beautiful Dutch braid on someone else in no time!
You Might Also Like: How to Make Waves Hairstyle? Here Are 10 Simple Tips

