How To Do Twist Braids? A Step-By-Step Guide!
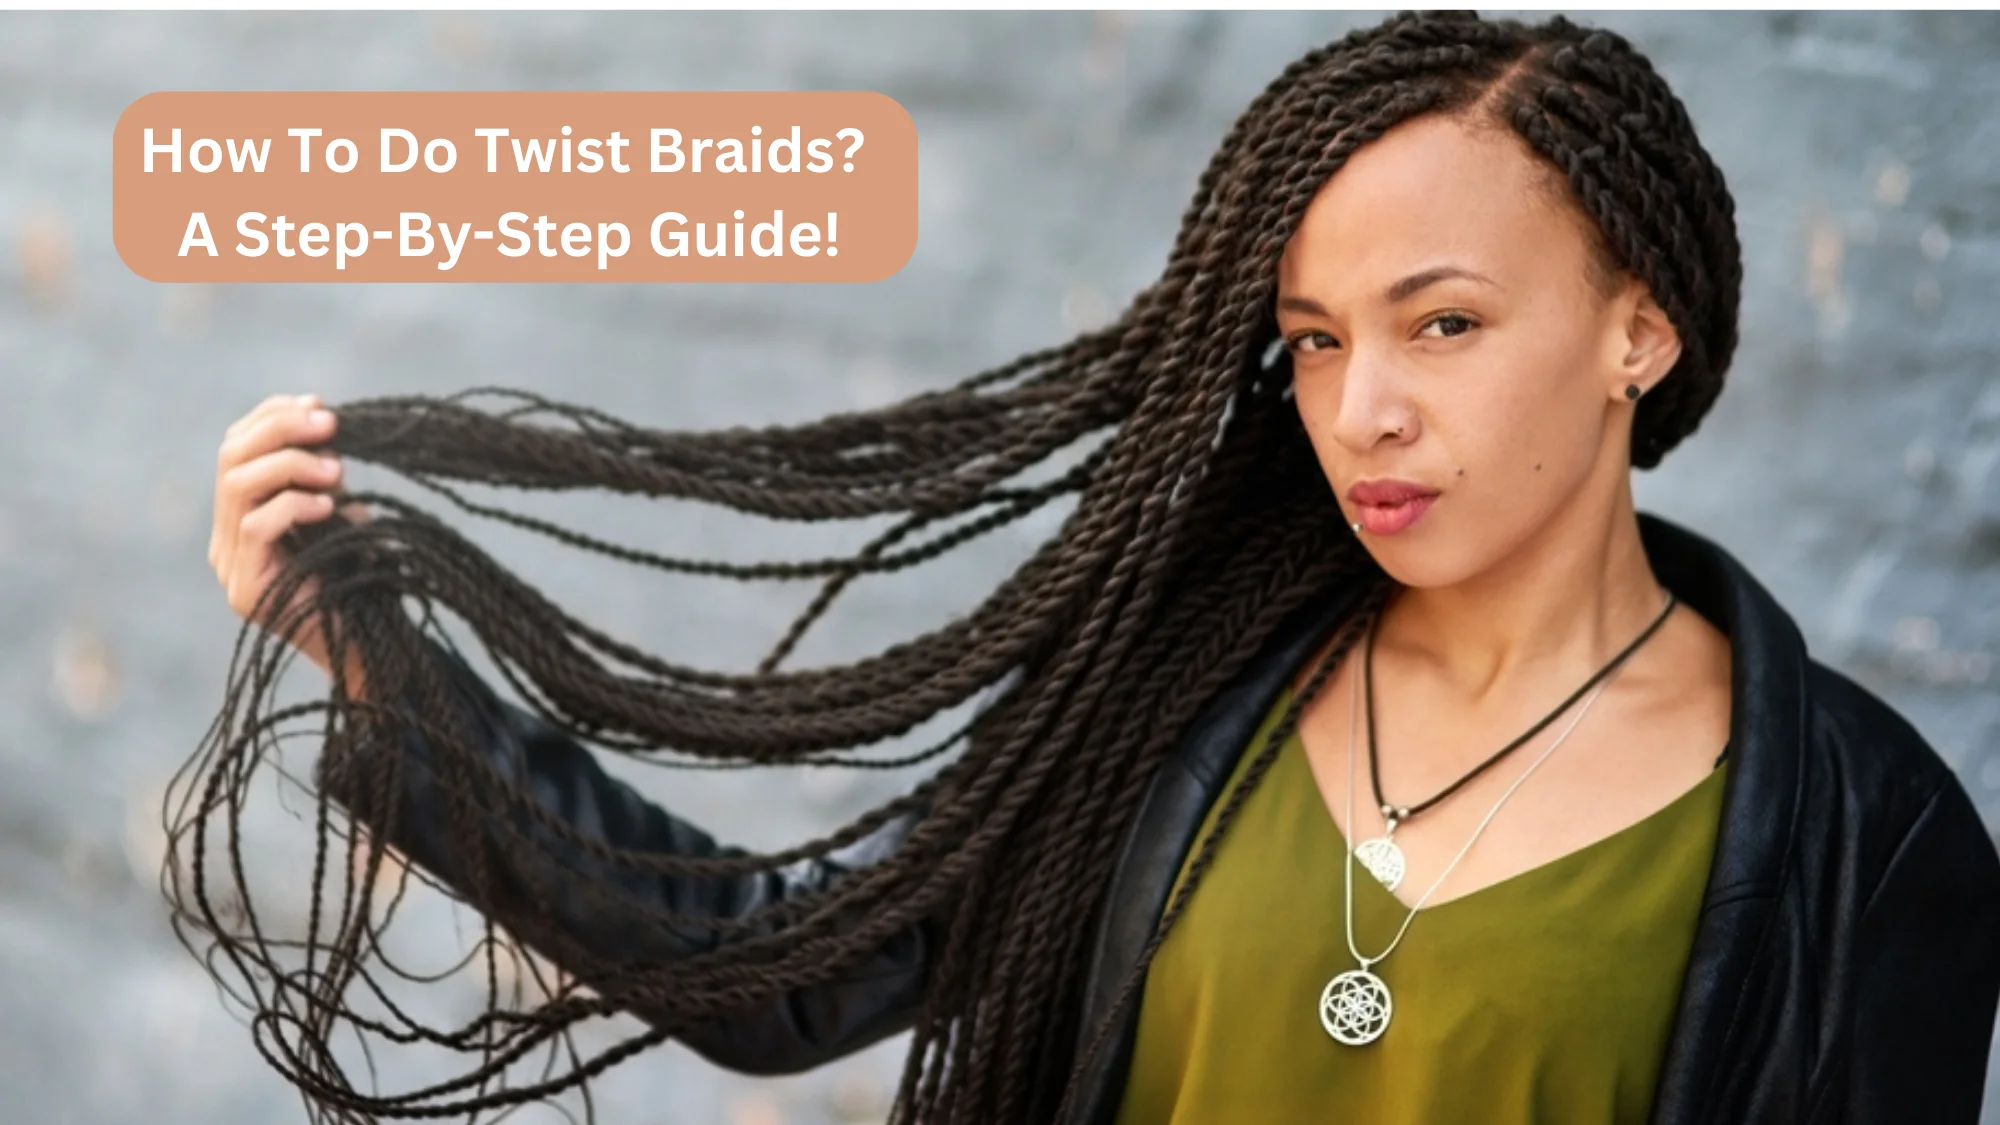
Twist braids are a stylish protective hairstyle that involves twisting two strands of hair around each other to create a rope-like braid. Twist braids can be done on various hair types and are a great way to protect your hair from damage while also adding a unique and trendy look to your overall style. While twist braids may seem complicated to create, with a little patience and practice, anyone can learn how to do them. In this guide, I’ll tell you the step-by-step process of how to do twist braids and provide some tips to make the process easier and more efficient. So, let’s get started!
How To Do Twist Braids?
Twist braids, also known as Senegalese twists or rope twists, are a popular protective hairstyle that anyone with natural hair can wear. Here are the steps to do twist braids:
Materials
- A comb or brush
- Hair clips or elastics
- Hair moisturizer
- Styling gel or edge control
- Synthetic braiding hair
- Scissors
Prepare Your Hair
Start by washing your hair with a sulfate-free shampoo and conditioner to remove any buildup or product residue. Detangle your hair with a wide-toothed comb or brush and divide it into four or more sections. Secure each section with hair clips or elastics.
Add Moisture
Apply a hair moisturizer or leave-in conditioner to each section of your hair to help keep it hydrated and healthy. Make sure to distribute the product evenly from root to tip.
Part Your Hair
Create a small part at the nape of your neck and clip the rest of your hair out of the way. Take a small section of braiding hair and fold it in half. Place the folded end of the hair against your scalp and hold it in place with your thumb and index finger.
Start Twisting
Divide the section of your hair into two equal parts. Take one section of your hair and twist it tightly around the braiding hair. Keep twisting until you reach the end of your natural hair.
Twist the Other Section
Repeat the twisting process with the other section of your hair. Make sure to twist in the same direction as the first section.
Twist Both Sections Together
Once both sections are twisted, twist them together in the opposite direction. This will create a tight, rope-like twist.
Repeat the Process
Continue to add braiding hair to each section of your hair and twist until you have completed the entire head. Make sure to maintain the same size and tension throughout the twists.
Seal the Ends
When you reach the end of each twist, use scissors to trim any excess braiding hair. You can seal the ends by dipping them in boiling water for a few seconds or using a lighter to melt them.
Style and Maintain
Style your twist braids as desired, using styling gel or edge control to smooth down any flyaways. Sleep with a satin bonnet or scarf to maintain the style and avoid excessive pulling or tugging on the twists.
And that’s it! With a little practice and patience, you can create beautiful twist braids that will protect your natural hair and last for weeks.
How Do Twist Braids With Rubber Bands?
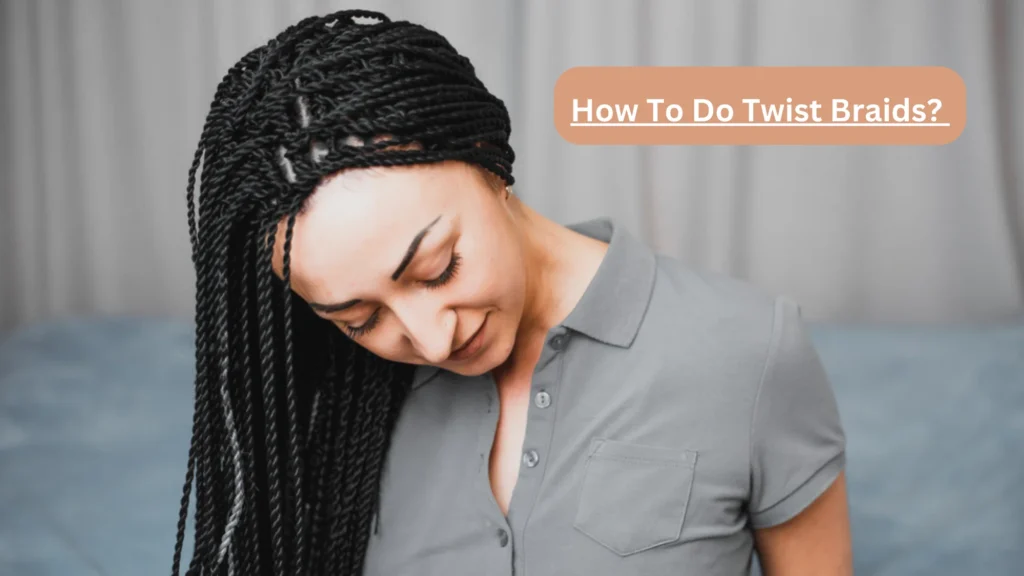
Twist braids with rubber bands, also known as rubber band twists or elastic twists, are a popular variation of traditional twist braids that use rubber bands to secure the hair at the base. Here are the steps to do twist braids with rubber bands:
Materials
- A comb or brush
- Hair clips or elastics
- Hair moisturizer
- Styling gel or edge control
- Synthetic braiding hair
- Small rubber bands
- Scissors
Prepare Your Hair
Start by washing your hair with a sulfate-free shampoo and conditioner to remove any buildup or product residue. Detangle your hair with a wide-toothed comb or brush and divide it into four or more sections. Secure each section with hair clips or elastics.
Add Moisture
Apply a hair moisturizer or leave-in conditioner to each section of your hair to help keep it hydrated and healthy. Make sure to distribute the product evenly from root to tip.
Part Your Hair
Create a small part at the nape of your neck and clip the rest of your hair out of the way. Take a small section of braiding hair and fold it in half. Place the folded end of the hair against your scalp and hold it in place with your thumb and index finger.
Start Twisting
Divide the section of your hair into two equal parts. Take one section of your hair and twist it tightly around the braiding hair. Keep twisting until you reach the end of your natural hair.
Add Rubber Bands
Once you have twisted the hair, use a small rubber band to secure the twist at the base. Slide the rubber band up to the base of the twist, being careful not to pull too tightly.
Twist the Other Section
Repeat the twisting and rubber band process with the other section of your hair. Make sure to twist in the same direction as the first section.
Twist Both Sections Together
Once both sections are twisted and secured with rubber bands, twist them together in the opposite direction. This will create a tight, rope-like twist.
Add More Rubber Bands
Continue to add rubber bands to secure the twists at the base, spacing them evenly apart. The number of rubber bands you need will depend on the length of your hair and the size of the twists.
Repeat the Process
Continue to add braiding hair to each section of your hair and twist with rubber bands until you have completed the entire head. Make sure to maintain the same size and tension throughout the twists.
Seal the Ends
When you reach the end of each twist, use scissors to trim any excess braiding hair. You can seal the ends by dipping them in boiling water for a few seconds or using a lighter to melt them.
How To Do Twist Braids On Short Hair?
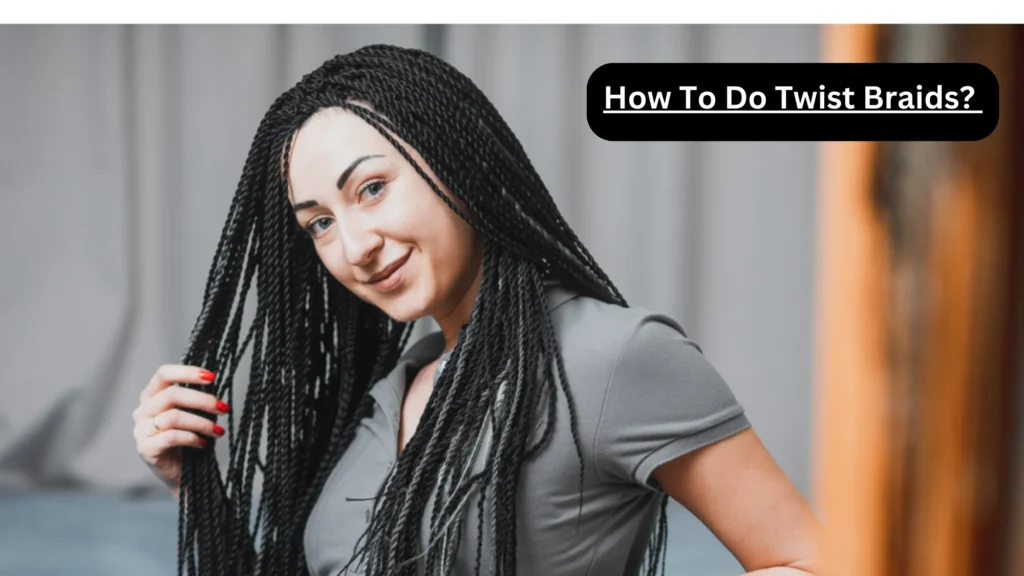
Twist braids are a great protective hairstyle for short hair. Here is a step-by-step guide to help you achieve this hairstyle:
- Start by washing and conditioning your hair. Detangle your hair using a wide-tooth comb or your fingers.
- Apply a leave-in conditioner or a hair moisturizer to your hair to add moisture and make it easier to work with.
- Divide your hair into small sections. The size of the sections will depend on how small or big you want the twists to be.
- Take a section of hair and split it into two equal parts.
- Twist the two parts together, starting at the roots and working your way down to the ends. Be sure to twist tightly to avoid the twists unraveling.
- Continue twisting until you reach the end of the section.
- Repeat steps 4 to 6 with each section of hair, making sure to twist in the same direction for each section.
- Once all the sections are twisted, you can either leave them as is or add accessories such as beads or clips.
- Cover your hair with a silk or satin bonnet or scarf at night to maintain the twists.
- With these steps, you can easily achieve twist braids on short hair. Remember to take your time and be gentle with your hair to avoid breakage.
How To Do Twist French Braids?
Twist French braids, also known as rope braids or twist braids, are beautiful and elegant hairstyle that involves twisting two strands of hair around each other while incorporating new hair into each twist. Here’s how to do a twist French braid:
- Start by brushing your hair to remove any tangles and knots.
- Take a section of hair at the crown of your head and divide it into two equal parts.
- Twist the two sections of hair around each other in a clockwise direction.
- As you continue twisting, add a small section of hair to each strand before twisting them around each other.
- Add hair to each strand as you twist, and work your way down your head until you reach the nape of your neck.
- Once you’ve added all the hair you want to include in the braid, continue twisting the two strands around each other without adding any more hair.
- When you reach the end of your hair, secure the twisted French braid with a hair tie or a clip.
- Repeat the process on the other side of your head if you want two-twist French braids.
Tips
- Keeping the two strands of hair twisted tightly around each other throughout the braid is important to ensure that the twisted French braid stays intact.
- You can apply hairspray to your hair before braiding to help the braid stay in place.
- Experiment with different variations, such as starting the braid on the side of your head or incorporating a Dutch braid into the twisted French braid.
Also Read: How to Do Knotless Braids? A Complete Tutorial!
Wrapping Up
All in all, twist braids are a popular and versatile hairstyle that can be worn in various ways. Whether you want a bohemian or edgy look, twist braids can help you achieve your desired style. For those asking how to do twist braids, you can easily master the technique of creating twist braids at home. Remember to start with clean and well-moisturized hair, use the appropriate products and tools, and take breaks if needed. Whether you’re doing twist braids for yourself or someone else, it can be a fun and rewarding experience. So go ahead, give it a try, and see how you can transform your look with twist braids!

