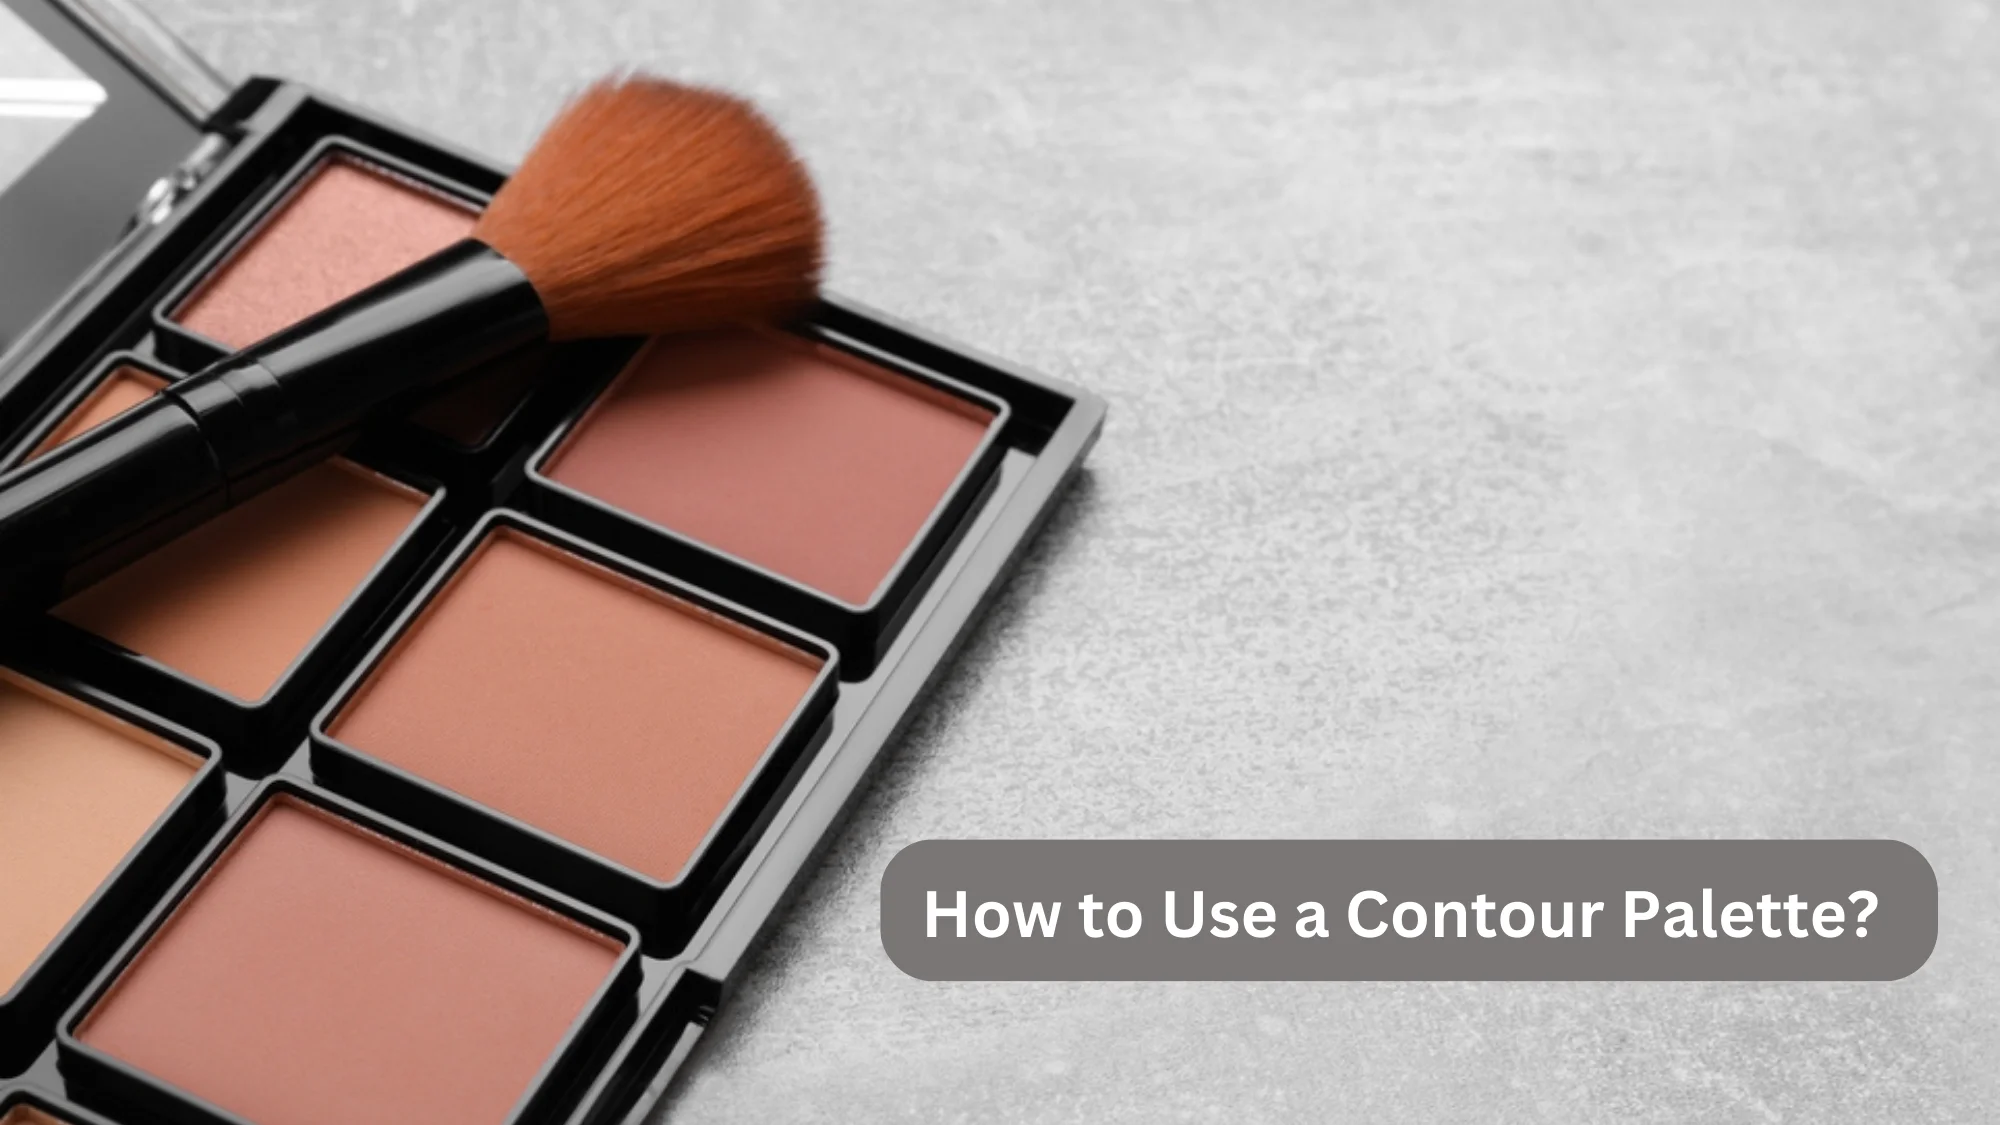
How to Use a Contour Palette? The Easiest Way!
I know the biggest problem newbies face while doing makeup is to contour their faces correctly. However, it’s super easy to do with a little guidance.
So, how to use a contour palette like a pro (even if you’re a beginner)?
To use a contour palette, apply the darker shade to areas where you want to define cheekbones and jawline. After this, use a lighter shade to highlight the top of the cheekbones and, the bridge of the nose.
In this blog post, I’ll break down the steps for using a contour palette for you.
As a bonus, I’m also discussing how you can choose the right shade and some proven tips. So, keep reading!
How to Use a Contour Palette Step-By-Step Guide? (The Ultimate Guide)

To use a contour palette, first determine the spots that need the contouring. Then, gather the materials and apply the darker contour shade to define features like cheekbones. Then, use a lighter shade to highlight the tops of the cheekbones and nose bridge. Lastly, blend thoroughly for a natural finish.
Step 1: Identify the Area to Contour
Every face is unique, so I always suggest starting with identifying the areas you want to contour. Common contour zones are:
- The hollows of your cheeks
- The sides of your nose
- Jawline
- The temples.
Some of you may want to sculpt your forehead or slim down your chin too. Take a moment to analyze your face and decide which areas you’d like to emphasize.
Step 2: Choosing the Right Contour Shade
Now, the fun begins! The next thing I do is to choose the perfect contour shade. Remember that you should do it considering your skin tone and undertone.
Fair Skin Tones: Opt for a contour shade that’s slightly darker than your natural skin color. Those with medium skin tones can play with warmer, golden brown shades.
Deep Skin Tone: Go for rich chocolate or terracotta hues.
I have made a table for choosing the right shade from the contour palette.
| Skintone | Undertone | Contour Shade |
| Fair | Cool | Soft taupe or cool brown |
| Warm | Warm taupe or caramel | |
| Medium | Cool | Cool-toned brown or grayish brown |
| Warm | Warm bronze or golden brown | |
| Deep | Cool | Deep cool-toned brown |
| Warm | Rich chocolate or terracotta |
After this, buy the best contour palette (it has the best reviews online).
Step 3: Gathering the Rest of the Materials
To contour like a pro, you’ll need a few makeup essentials. Here’s what I use:
- A highlighter or a light concealer.
- A fluffy brush for blending.
- A small angled brush for precision work.
- A mirror
Step 4: Prepping the Face
After I have all the materials, I cleanse and moisturize my face. Then, I apply a lightweight foundation straight away. Note that you should use a foundation that matches your skin tone.
Furthermore, you can also use concealer to cover any blemishes or dark circles.
But the prepping doesn’t end here. You will also have to highlight the “zones” which you will be contouring.
Step 5: Contouring
Now, that’s the most important step of the whole contouring process. In it, I use the darker shade from my contour palette and apply it to the areas I’ve identified in the previous step. If you were wondering, “How to use contour Palette powder,” note that the process is the same.
I recommend using light, feathery strokes to avoid harsh lines. Also, don’t apply too much, as you can always build up the intensity gradually.
Step 6: Blending
Blending is the key to natural-looking contouring. In the next step, I take my fluffy brush and blend the contour lines in upward strokes. When you do this, you should make sure there are no visible lines, and the contour seamlessly merges with your natural skin tone.
Step 7: Highlighting
After blending, I like to apply a highlighter or a light concealer to the high points of my face. These are:
- Cheekbones
- The bridge of your nose
- Cupid’s bow.
Doing this enhances the dimensions and shine!
Step 8: Final Touches
Lastly, I always check my makeup in different lighting to ensure it looks natural and well-blended. Here, I also make any necessary adjustments to achieve the desired effect. That’s it!
So, follow these eight steps and you will be able to contour like a pro!
How to Cream Contour for Beginners?
Those people who have dry skin also ask me, “How to use cream contour palette?” Well, the steps are almost the same as I have discussed above. Here’s what to do:
- Choose the Right Product: Start by selecting a cream contour kit with shades that match your skin tone.
- Identify Contour Areas: You should locate areas to contour in advance (so that you don’t get confused later). These can be cheekbones, jawline, nose, etc.
- Apply Contour: People often ask me, “How to apply cream contour with brush?” Well, Pick up a small amount of the cream contour product with the brush and use it in circular or sweeping motions.
- Blend: After applying contour, you should gently blend well using a makeup sponge or brush.
- Highlight: Apply the lighter shade on high points (cheekbones, nose, forehead).
- Blend Highlight: You should always blend the highlight for a natural look. If you want, you can also set it with translucent powder to enhance longevity.
How to Choose the Right Contour Palette?

Choosing the right contour palette can be a real game-changer. I understand that there are now so many options, and it can become difficult to pick the right one.
Don’t worry; let me tell you how to find the contour palette that suits you best (step-by-step).
Step 1: Know Your Skin Tone
The first and most important step in choosing the right contour palette is understanding your skin tone.
Are you fair, medium, or deep-toned? You should also know your undertone – cool, warm, or neutral. This will help you select a contour palette that complements your unique complexion.
If you don’t know your skin tone or undertone, I am here to help.
How to Determine Your Skin Tone?
Your skin tone refers to the overall color of your skin, and it can be broadly categorized into three main types: fair, medium, and deep.
- Fair Skin Tone: If you have fair skin, your complexion is often lighter and may burn easily in the sun without much tanning.
- Medium Skin Tone: If your skin falls in the medium category, it usually has a more olive or tan appearance, and you might tan under the sun.
- Deep Skin Tone: Deep skin tones have a darker complexion and rarely burn but easily develop a beautiful tan.
To determine your skin tone, look at the skin on your wrist or inner arm under natural light. Compare it to a piece of white paper or fabric. If your skin appears lighter than the white object, you likely have a fair skin tone. If it matches the color, you likely have a medium skin tone, and if it’s darker, you have a deep skin tone.
How to Determine Your Undertone?
Your undertone is the “subtle hue” beneath the surface of your skin. There are three common undertones: cool, warm, and neutral.
- Cool Undertone: If your veins appear bluish or purple, and silver jewelry looks more flattering on you, you likely have a cool undertone. Your skin might have hints of pink or red in it.
- Warm Undertone: If your veins look greenish and gold jewelry enhances your complexion, you probably have a warm undertone. Your skin might have a slightly yellow, peachy, or golden tint.
- Neutral Undertone: If you find it hard to determine whether your veins are blue or green, and both silver and gold jewelry suit you, you likely have a neutral undertone. Your skin might have a balanced mix of warm and cool tones.
To identify your undertone, check the veins on your wrist again. If they appear more blue or purple, you likely have a cool undertone. If they seem green, you probably have a warm undertone. If you can’t quite tell or see a mix of colors, you likely have a neutral undertone.
You can also watch this video about finding your skin tone:
Now that you know your skin tone and color tone, you should check the Contouring palette’s color range. How? Let’s find out below.
Step 2: Check the Shade Range of Contouring Palette
When searching for the perfect contour palette, make sure to check the shade range it offers.
A good contour palette should include at least two or three different contour shades, ranging from light to dark. It should also have a couple of highlighting shades to enhance your features.
Step 3: Consider the Palette’s Formula
The formula of the contour palette is also an important factor to consider. Why? Because the different formula works best with different skin tones.
- Cream contour palettes work well for dry skin types, offering a seamless blend and a natural finish.
- Powder contour palettes are great for oily skin as they provide a matte look and can help control shine.
- If you have combination skin, you might want to try a hybrid palette that combines both cream and powder shades.
Step 4: Read Reviews and Watch Swatches
Before making a purchase, always read reviews from other makeup artists or beauty bloggers who have used the contour palette you’re interested in.
Honest reviews can give you valuable insights into the performance, pigmentation, and overall quality of the product.
Additionally, watch swatch videos or look at swatch images online to get an idea of how the shades look on different skin tones.
What Common Mistakes Should You Avoid While Contouring?
Contouring can be a game-changer in your makeup routine, but it’s essential to steer clear of some common blunders that can leave you with less-than-stellar results. Let’s find out the top three common mistakes and learn how to avoid them for a flawless and natural contour.
Using Too Much Product
One of the most common contouring mistakes is going overboard with the product. Applying too much contouring product can lead to an artificial and heavy appearance, making your makeup look more like a mask than a natural enhancement.
How to Avoid It?
Less is more when it comes to contouring. Start with a small amount of product on your brush or sponge and build it up gradually. Remember, you can always add more if needed, but it’s challenging to remove excess product without ruining your entire makeup look. Using a light hand will give you better control over the intensity of your contour.
Applying the Product in the Wrong Areas
Another common error is contouring in the wrong places. Placing the contour product incorrectly can throw off the balance of your face and make your features appear distorted rather than defined.
How to Avoid It?
Learn the key areas to contour for your face shape. Generally, you want to apply contour product to the hollows of your cheeks, along your jawline, and the sides of your nose.
For a more personalized approach, study your face shape and consider your unique features to determine where you need definition. Always use a mirror and natural lighting to guide you while contouring.
Not Blending Well
Blending is the secret sauce to a successful contour. Neglecting to blend the product properly can result in harsh lines and patches, making your makeup look obvious and artificial.
How to Avoid It?
Take your time and blend, blend, blend! Use a soft and fluffy brush or a damp beauty sponge to ensure a seamless blend. Work in circular or upward motions, gently buffing the contour into your skin.
Pay special attention to the edges of the contour, so they seamlessly blend with your foundation. The goal is to achieve soft shadows that mimic natural light and shadows on your face.
4 Tips for Flawless Contouring (They Have Always Worked For Me)

Contouring is a game-changer. But don’t worry if you’re new to this; I’ve got you covered with some super simple tips and tricks that will help you master the art of contouring. So grab your brushes, and let’s begin.
Start with a Light Hand
Less is more, especially when you’re a beginner. Contouring is all about enhancing your natural features, not creating a completely new face. To avoid looking like a painted doll, start with a light hand.
Grab a contouring product that’s just one shade darker than your skin tone. Remember, you can always build up the intensity gradually, but removing excess product can be tricky. So, go easy at first, and you’ll be amazed at the subtle yet stunning results!
Practice on a Small Area of Your Face First
Practice makes perfect, and the same goes for contouring! If you’re feeling a bit nervous about diving straight into full-face contouring, don’t fret. Begin by focusing on a small area, like your cheeks or jawline.
This way, you can familiarize yourself with the techniques without feeling overwhelmed. As you gain confidence, you’ll be ready to conquer larger areas, sculpting your way to a flawless finish!
Use a Good Blending Brush
The secret to seamless contouring lies in the art of blending. A high-quality blending brush can work wonders, ensuring your contour lines are soft and natural-looking. Opt for a brush with soft, fluffy bristles, which will help you blend the product effortlessly.
Start by placing the contour product where you want the most definition, then gently blend it in upward, sweeping motions. The result? A beautifully contoured face that looks like it was crafted by a pro!
Know Your Face Shape
Understanding your face shape is like having a secret weapon in the world of contouring. Different face shapes require different contouring techniques to accentuate their unique features.
- Round Face: Focus on contouring the sides of your forehead, under the cheekbones, and along the jawline to create the illusion of more defined angles.
- Square Face: Soften your strong jawline by contouring along the temples, under the cheekbones, and along the sides of your jaw.
- Heart-Shaped Face: Contour the sides of your forehead and under the cheekbones, while keeping the chin area and jawline lighter to balance your features.
- Oval Face: Lucky you! An oval face is versatile, so you can focus on enhancing your favorite features without worrying too much about correcting anything.
Final Say
To sum up, using a contour palette can really amp up your makeup skills and boost your confidence. Just remember the simple steps I covered: pick the right palette, prep your face, know your face shape, apply the darker shades for contouring and lighter shades for highlighting, blend it all together, and set it with some powder.
With a bit of practice, you’ll find the perfect technique for your face and skin tone. So, have fun, be creative, and embrace your inner beauty. Happy contouring!
Related: Does Face Wash Expire? (Explained)